
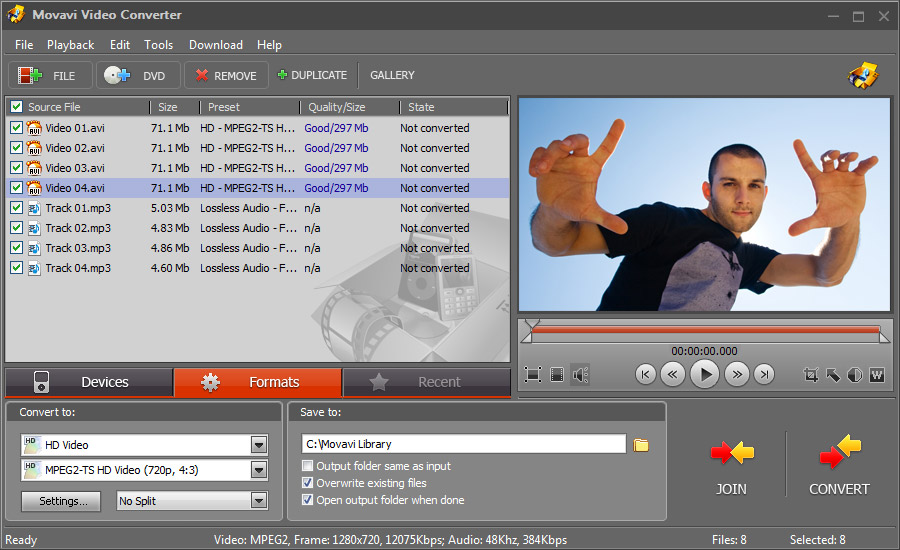
Do you have a ton of photographs that you think could look great if you were able to tweak them a little? Contrary to what you may think, you don’t need to be a photographer or graphic designer to edit your photographs – with the Movavi Photo Studio all the tools you need are right there at your fingertips.
The only question is – how do you go about using these tools to perfect your photos?
Know Your Options
Before you start to edit your photographs, it is best that you take stock of the options you have at your disposal and then decide which ones you can use to improve your photos. Some of these options include:
- Adjusting the quality of the image by tweaking the brightness, contrast, saturation, temperature, and exposure or using the magic enhance option
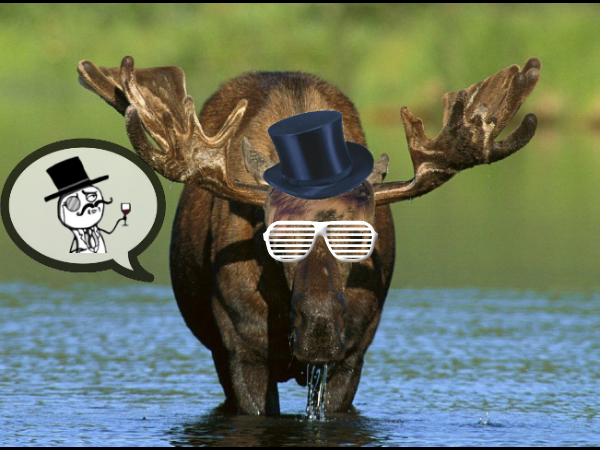
- Applying filters to alter its appearance to something exotic, such as lomo, sepia, oil painting, pixelate, black and white, or acid
- Transforming photos by resizing, cropping, rotating, flipping, or leveling to create better framed photos
- Replacing the entire background of an image by easily selecting the subject and then switching the background to another image
- Removing unwanted objects that spoil the view in your image and dramatically improve the composition
- Adding custom captions and watermarks if needed to set the scene
As you can see, you can pretty much choose to tweak your photos however you feel like with the Movavi Photo Studio. Check it out for yourself at: http://www.movavi.com/photosuite/
Best Way to Edit Photos
When you want to actually edit the photos, there are many different approaches and workflows that you could use. One of the best for beginners is to follow this step-by-step set of instructions:
- Create a backup of your photo so that if you accidentally save it while editing you can always go back to the original
- Decide on the framing and composition of your photo, i.e. what is the central element that you’re framing? What other parts of the photo do you want to include?
- Resize, crop, flip, level, rotate, change to background or remove unwanted objects accordingly
- Decide on the look of your photo and whether or not you want to use filters to alter it dramatically
- Apply the filters that you want to use
- Decide whether or not you want to improve the quality of the image
- Tweak the contrast, brightness, saturation, temperature and exposure as required
- Add a caption or watermark if you want to do so
At any step you should feel free to experiment. Editing photos to look great isn’t a science – it’s an art, so don’t be afraid to experiment, try out new things, and go wild. With the tools right there and so easy to use, you can let your inner creative genius out and see where you end up. If anything goes wrong – just restore the original from the backup and start over again.

No comments