
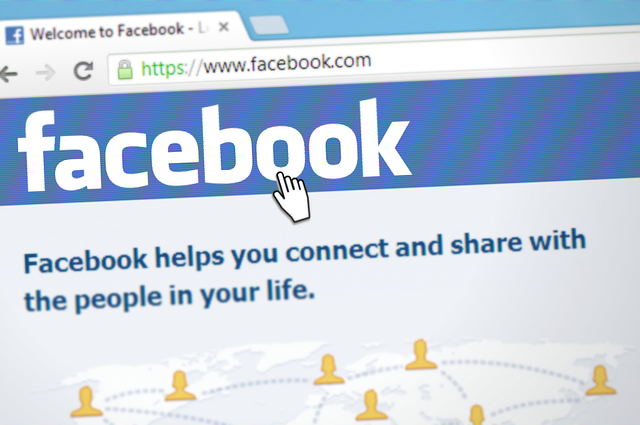
When you start building your online presence, Facebook is an essential part of doing it right. If you already have a website, it is a great way to promote your news and updates. Moreover, if don’t own one yet, it is a great place to start with minimum effort and budget.
Bellow you’ll find a step-by-step guide on how to get started with a new page.
So what you should do first is click the drop-down button in the top right corner and hit Create a Page.
1. Choose a Page type
You’ll be prompted with a new screen where you can choose what kind of page are your creating. You can select a single option from these options:
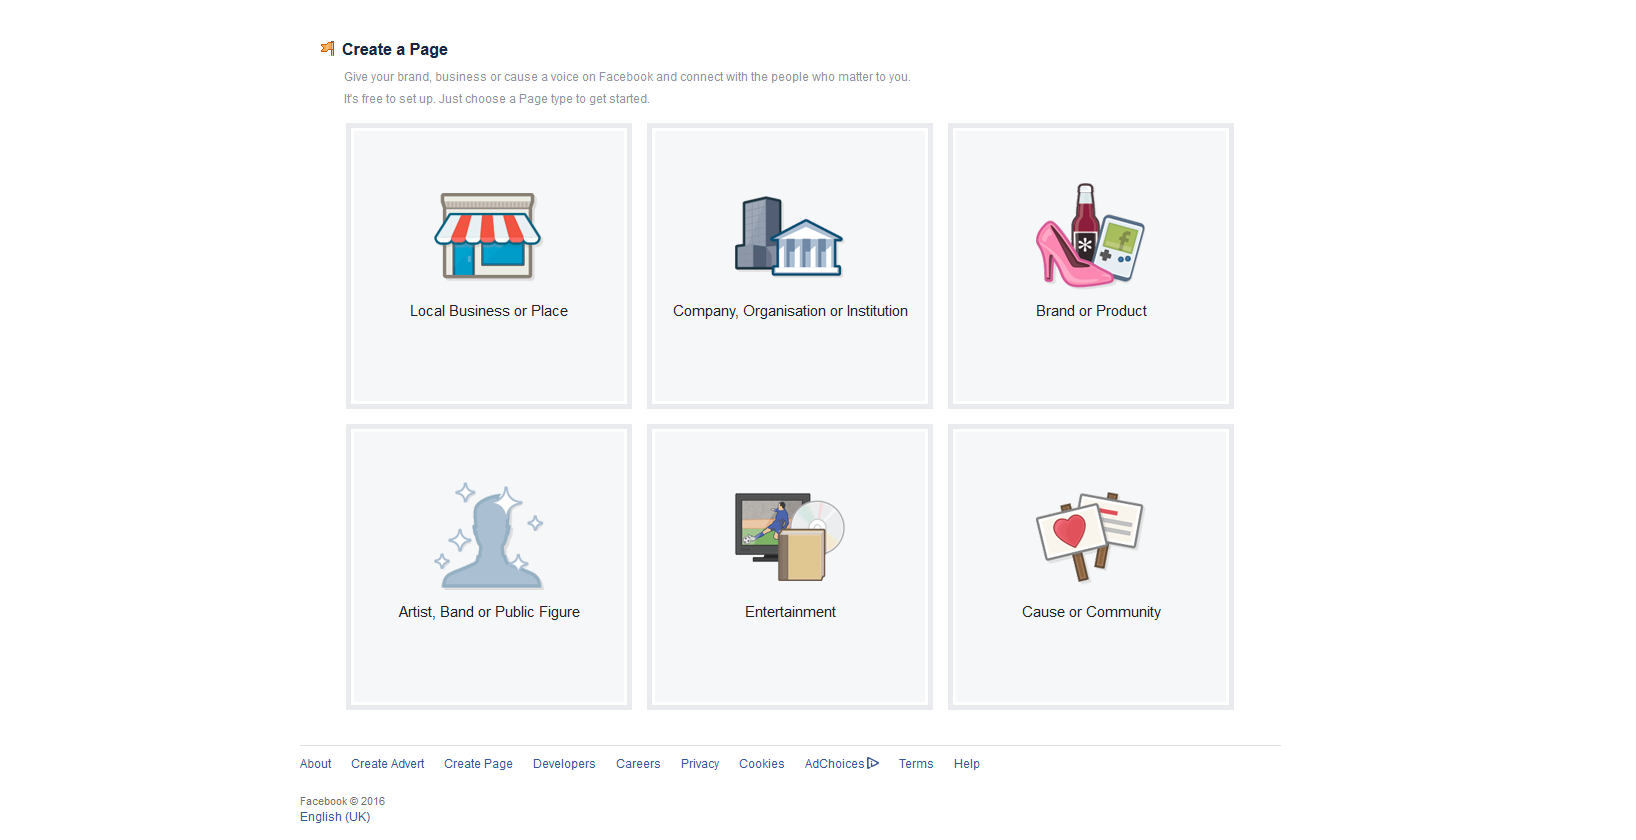
- Local Business or Place (this one is perfect for galleries and event venues, anything in that area that actually has an open to public space);
- Company, Organisation or Institution
- Brand or Product
- Artist, Band or Public Figure – this should be your preferred selection;
- Entertainment – good in case you own a magazine, a podcast station, a YouTube Channel, and many more;
- Cause or Community – you can create such a page for your local artist community for example.
2. Select a category
Now that you have chosen the Page type, each has a categorization in place. So click on the drop-down and see what fits best. For example, in the Artist, Brand or Public Figure you can find categories like: Artist, Blogger, Entrepreneur, Comedian, Dancer, Photographer, Writer and more. Click the one that fits the best with what you do.
3. Set up your Page
Before your page goes live you have to tell the world a thing or two about yourself. Try to give an accurate description, select the appropriate URL for your page, put a nice profile picture and establish your preferred audience. Add it to favorites so you can easily access it anytime you want straight from your News Feed. Make sure you think about who your audience is, because it increases the chance of being discovered by people who are genuinely interested in your art.
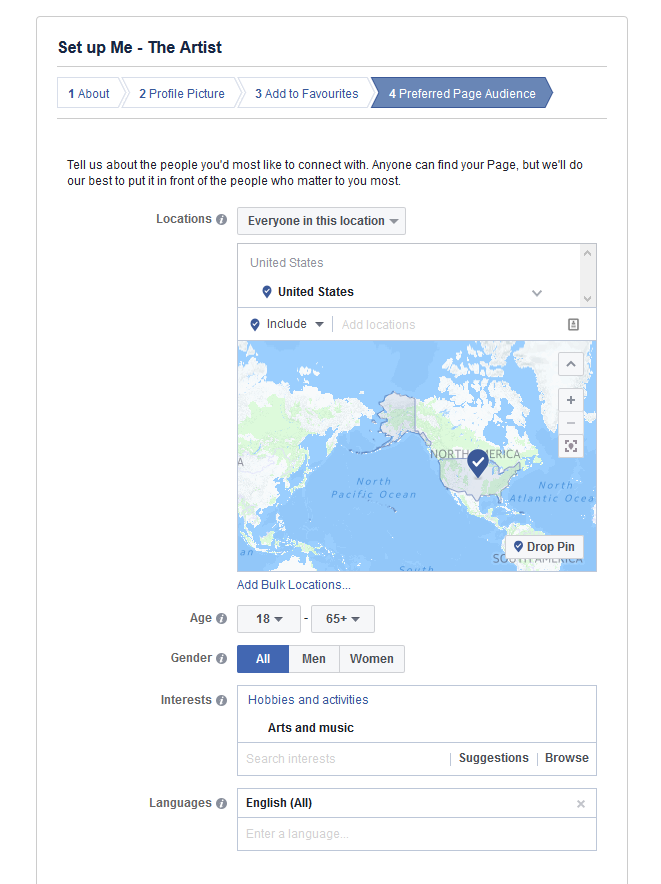
- Location – you can choose people from a specific location, exclude people based on their location or target people traveling in a certain location. Be as broad or as specific as you want and make the most relevant decision for your particular case.
- Age & Gender – in case you already have some insight regarding demographic date, make sure you use it.
- Interests – type a few general interest that are relevant for your activity. For example you have the Arts and Music interest which targets people that enjoy any kind of art. If you want to be more specific target people that like your kind of art.
- Languages – you can select the language in which you will be addressing your public and the language they should be speaking in order to get your message.
And that’s it. You have now created your Facebook artist page. But the hard work only now begins. You have to keep it updated and provide relevant information for your audience.


No comments